










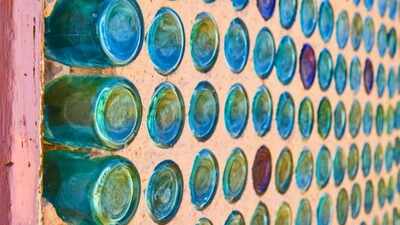
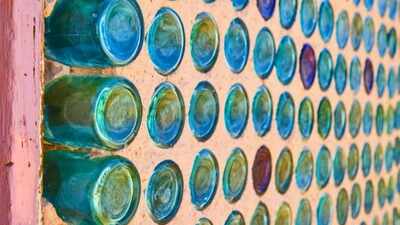
That growing collection of empty glass bottles sitting in your recycling bin has more creative potential than you’d probably given it credit for. Rather than sending them off for standard recycling, a small but genuinely satisfying DIY trend has been gaining traction, crushing old glass bottles and mixing the shards directly into concrete to create sparkling, terrazzo-style pavers for a fraction of what premade decorative tiles would cost. It’s the kind of weekend project that turns something you’d otherwise toss out into a genuinely eye-catching addition to a patio, garden path, or edging border. Here’s exactly how to do it, step by step.
Gather your bottles and figure out your colour palette
Start by collecting a decent stash of glass bottles, look for ones with tinted glass rather than clear, since coloured glass tends to come in a range of shades, from deep greens and warm ambers to the occasional striking cobalt blue, depending on what you have on hand. Tinted glass shows up far more vividly once it’s set in concrete than clear glass does, so it’s worth being a little selective here. If you don’t already have enough bottles at home, cafes, restaurants, and local recycling centres are often happy to hand over empties they’d be sending for recycling anyway.
Set up a safe space for breaking the glass
This is genuinely the step where care matters most. Before you touch a single bottle, put on eye goggles, cut-resistant gloves, and a dust mask, since you’ll be creating small, sharp shards that can travel further than you’d expect. Place one bottle at a time into a sturdy metal container, cover it with a piece of cardboard, and wrap the whole thing in a thick cloth or old pillowcase; this containment layer is what stops glass fragments from scattering across your workspace.
Break the bottles into workable pieces
With your safety gear on and the bottle properly contained, gently tap it with a hammer until it breaks into smaller pieces, there’s no need to pulverise it into dust, fairly small, manageable shards work best for this project. One bottle typically yields enough broken glass for two to three pavers, so plan your quantity accordingly. If handling broken glass feels like more risk than you’re comfortable with, you can skip this step entirely and use glass marbles or store-bought sea glass instead for a similarly sparkly effect.
Mix your glass with concrete mix
Once you have your glass pieces, mix two parts sand, one part cement, and one part broken glass, adding water gradually until the mixture is workable, slightly thick, not too runny, and not too dry. This is the base you will pour into your mould, and the glass that is embedded will give the terrazzo that unique sparkle when the paver is fully cured and hardened.
Pour, lay down, press glass into place
Pour your mixture into a paver mold, or make do with an old pie tin if you don’t have a proper mold. Before it starts to set, arrange your glass shards across the surface in whatever pattern appeals to you, scattered randomly for a natural terrazzo look, or more deliberately clustered by colour for something bolder. Gently press the pieces into the surface using a finishing trowel, then smooth the concrete over to help lock everything in place.
Let it cure properly, with a few smoothing passes
Patience matters here more than speed. Let the mould sit undisturbed for about an hour, then go over the surface again with your trowel to smooth it out. Repeat this process roughly every hour for the next two hours, using one corner of the trowel each time to carve a clean gap around the mould’s edges, this small step makes the finished paver considerably easier to release once it’s fully set. Allow the paver to cure completely, generally at least a day or two, before handling it further.
Put your finished pavers to use
Once fully cured, your glass-flecked pavers are ready for whatever you had in mind, lining a garden path, adding a decorative border along flower beds, building a small accent feature in the garden, or simply setting a few out on a patio where the glass can catch the light. Each one will look genuinely unique depending on how the glass settled during pouring, which is really the charm of this project; no two pavers ever turn out quite the same.
Disclaimer:
This article is intended for general informational purposes only. Always wear eye protection, cut-resistant gloves, and a dust mask when breaking glass or mixing cement, and work in a well-ventilated outdoor area away from children and pets. Broken glass should be handled and disposed of carefully, and any leftover shards should never be placed in regular recycling or household waste.